



Your Power Platform Trainer: J. H. Irwin
Author | Content Creator | Technology Strategist
At the end of Module 2, you held something you built in your own hand: a working app on your phone, collecting your team's requests into a proper cloud database
I promised that this time we would make that work move, and I intend to keep that promise. By the end of this module, your app will have a colleague. It will not take lunch breaks, it will not forget, and it will notice a new request the instant one arrives, at two in the afternoon or two in the morning, and quietly do something useful about it.
That colleague is Power Automate, and I want to be honest about why I find it the most quietly life-changing tool in the entire platform. Apps are visible; people admire apps. But the hours that disappear from most working lives do not vanish into a lack of apps. They vanish into forwarding, reminding, copying, checking, and nudging, the connective tissue of work that nobody is paid to do and everybody does anyway. Automation gives those hours back, and it does it without fanfare. Nobody ever sees the reminder you did not have to send.
If you are joining the series here, welcome. Module 1 maps the whole Power Platform in plain English, and Module 2 walks you through creating a free developer environment and building a Team Request tracker app. This module builds directly on that app, so if you skipped the homework, twenty minutes with Module 2 will set you up.
What a Flow Actually Is
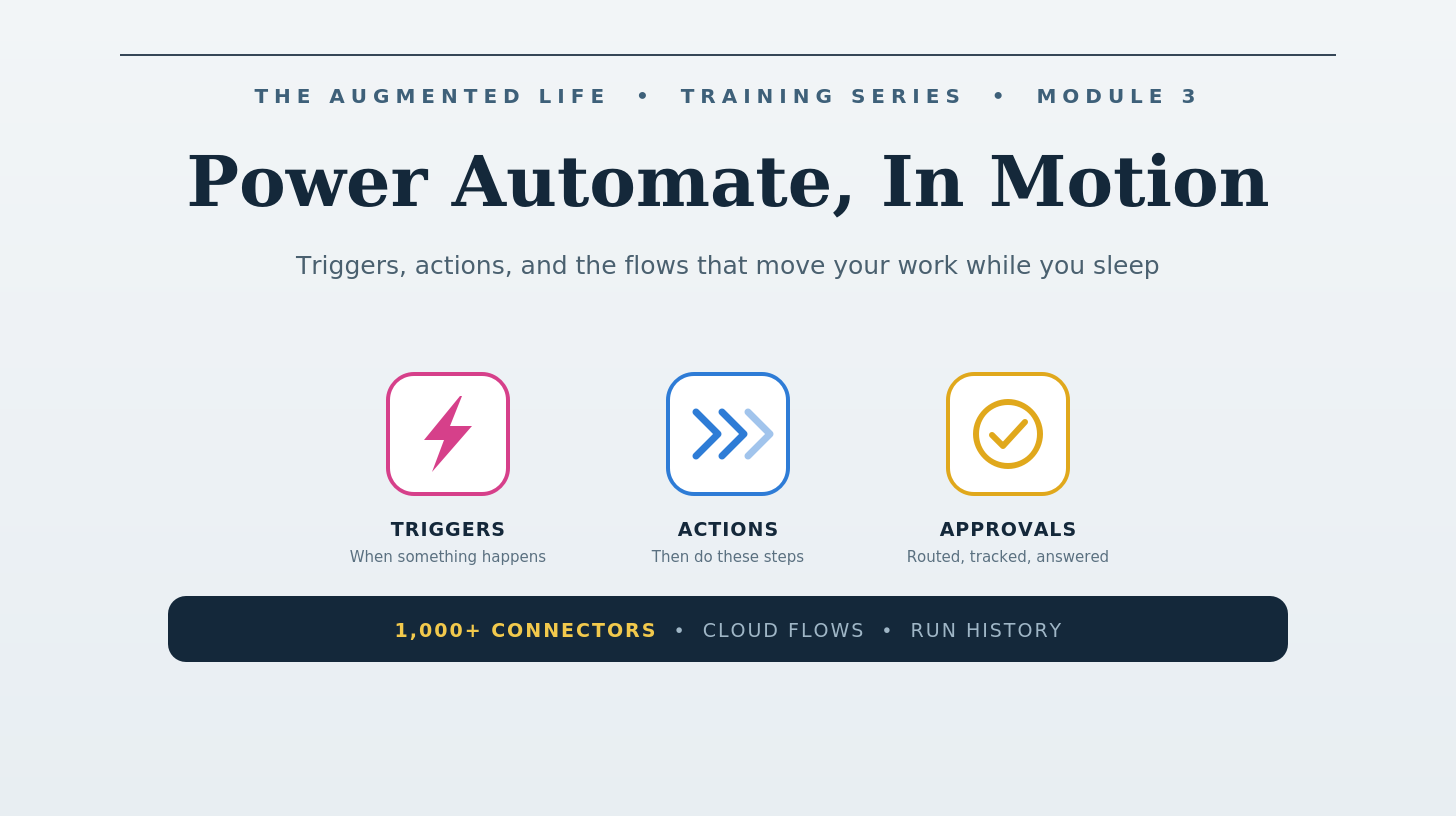
Everything in Power Automate is a flow, and every flow has the same skeleton: when this happens, do these things. The “when” is called a trigger, and there is exactly one per flow. The “do these things” are actions, and there can be as many as you need, including branches, conditions, and loops. That is the entire mental model. Everything else is detail.
Flows come in three flavors, distinguished only by their trigger. Automated flows start when something happens in a system: a row is added to a table, an email arrives, a file lands in a folder. Scheduled flows start when a clock says so: every morning at eight, every Friday, on the first of the month. Instant flows start when a person pushes a button, often from inside a Power App or from the Power Automate mobile app. We will build the first two today. (There is a fourth family, desktop flows, which teach software to operate other software by mimicking a human at the keyboard. That is robotic process automation, it is wonderful for wrangling stubborn legacy systems, and it deserves its own module later in this series.)
The vocabulary from Module 1 pays off here, because flows speak to the outside world through connectors, the same thousand-plus bridges that Power Apps uses. And one more term will complete your kit: dynamic content. When a flow triggers because a new request was created, everything about that request, its title, its due date, who created it, becomes available for the actions that follow, like ingredients laid out on the counter. Building flows is mostly the art of arranging those ingredients.
A Short Tour, Then We Build
Open make.powerautomate.com and confirm the environment picker in the top-right corner shows your developer environment, the personal workshop you created in Module 2. Habit two from that module applies for life: real building happens in a deliberate environment, never the shared junk drawer.
The left navigation is simple: Create for new flows, My flows for everything you have built, and Templates, a gallery of thousands of prebuilt flows shared by Microsoft and the community. The templates gallery is worth ten minutes of browsing sometime, not because you will use them as-is, but because reading what other people automate is the fastest way to notice what you could. And like Power Apps, the modern designer includes Copilot: describe a flow in a sentence and it will draft one. Same advice as Module 2, and I will not belabor it: build by hand first. The autopilot serves the pilot, not the other way around.
Build One: The Instant Notification
Our first flow answers the most common automation wish in existence: tell me the moment something needs my attention. When a new Team Request is created, we will post a message to Microsoft Teams.
Step one. Choose Create, then Automated cloud flow. Name it something honest, like Notify on new Team Request, and search the trigger list for Dataverse’s “When a row is added, modified or deleted.” Select it and create the flow.
Step two. Configure the trigger. Set Change type to Added, choose your Team Requests table, and set Scope to Organization. That last setting simply means “fire no matter who created the row,” which is what you want for a team tool.
Step three. Add an action. Click the plus below the trigger and search for Teams, then choose “Post message in a chat or channel.” Point it at a team and channel you can see (your own test team is fine while learning). Now click into the message box and watch the dynamic content panel appear, listing every column from your table. Compose something like: New request: [Name] — due [Due Date]. Details: [Details]. You are not typing values; you are placing the ingredients, and the flow will fill in the real ones at runtime.
Step four. Save, then test it the satisfying way: open your Module 2 app on your phone and submit a request. Within a few seconds, Teams chimes with a message describing exactly what you just entered. Take a moment with that. Your app and your flow just cooperated without you, and that little chime is the sound of an entire category of “hey, did anyone see my request?” follow-up messages becoming unnecessary.
Build Two: The Morning Nudge
The second flow demonstrates scheduled automation, and it addresses the second most common wish: remind me before things are late, not after. Every morning at eight, this flow will look for requests due within a day that are not finished, and it will nudge you about each one.
Step one. Create a Scheduled cloud flow named Daily due-date nudge, running every 1 day at 8:00 AM.
Step two. Add the Dataverse action “List rows” and choose your Team Requests table. This action fetches rows for the steps that follow. Seasoned builders filter right here using a query language called OData, and one day you will too, because it is more efficient. But it is also a wall of syntax you do not need on day one, so we will filter the friendly way instead.
Step three. Add a Condition. Power Automate will offer to wrap it in an “Apply to each” loop the moment you use dynamic content from List rows; accept that, because it means “check every row.” In the condition, test two things: Due Date is less than or equal to the expression addDays(utcNow(), 1), and Status is not equal to Done. (That addDays expression is your first taste of flow expressions, which are cousins of the Power Fx formulas you met in Module 2. It simply means “now plus one day.”)
Step four. In the If yes branch, add Teams’ “Post message in a chat or channel” again, or the Outlook “Send an email” action if you prefer, and compose your nudge with dynamic content: Heads up: “[Name]” is due [Due Date] and is still [Status]. Save, then use the Test button and run it manually rather than waiting for tomorrow morning. If you seeded a request due soon, your nudge arrives.
Two flows, maybe forty minutes of work, and your little request tracker now behaves like a system some vendor would happily charge your company five figures a year for.
The Approval Pattern
I promised routing approvals without anyone forwarding an email, so let me hand you the pattern, because it is nearly identical to what you have already built. Power Automate includes a first-class Approvals connector, and its key action is “Start and wait for an approval.” Drop it into a flow, name an approver, and the flow genuinely pauses, for hours or days if necessary, while that person receives an approval card in Teams, Outlook, and the Power Automate mobile app. They tap Approve or Reject, optionally with comments, and the flow resumes with their answer as dynamic content, ready for a condition: if approved, update the request’s status and notify the requester; if rejected, notify them of that instead, with the comments attached.
Try it as an extension of Build One: instead of merely announcing a new request, route it for approval first. Every piece, the trigger, the condition, the Teams message, the Dataverse “Update a row” action, is something you have now touched. That is not an accident. Power Automate has a small vocabulary and enormous grammar; a dozen building blocks combine into almost anything.
When Flows Misbehave, and They Will
Here is a truth every builder learns: flows fail, and that is fine, because Power Automate keeps receipts. Open any flow and its run history shows every execution, when it ran, whether it succeeded, and, most usefully, exactly what data moved through every single step. Click a failed run and you can see the precise action that broke and the inputs it received when it did. I have watched this panel turn a mystifying failure into a thirty-second fix more times than I can count, usually revealing something humble, like a renamed channel or an empty due date. Make run history your first stop when something misfires, not your last. Debugging a flow is not detective work; it is reading.
Two related habits are worth adopting now. First, rename your steps. “Post message in a chat or channel 3” tells future-you nothing; “Notify requester of rejection” tells the whole story, and run history becomes self-documenting. Second, keep each flow to one job. A flow that notifies and nudges and escalates and archives is a flow nobody, including its author, will confidently modify a year from now. Small flows with honest names age gracefully.
The Licensing Footnote That Will Save You a Headache
One piece of straight talk before homework, tying back to the line I drew in Module 1 between standard and premium connectors. The flows you built today use the Dataverse connector, which is premium. Inside your free developer environment, that costs nothing, because the Developer Plan includes premium capabilities for learning. But the day you rebuild these flows at work for real, the people using them will need premium licensing, whether that is Power Automate Premium per user or your app’s Power Apps licensing carrying the rights. Knowing this before you demo something wonderful to your team spares you a deflating conversation with IT afterward. Nothing about today’s skills is wasted either way; the same patterns work with standard connectors like SharePoint, just with a different table under them.
Your Homework, and What Comes Next
In Module 2, your homework was to build an app around a small, real annoyance of your own. This module’s homework is its natural sequel: give that app one flow. Just one, and make it the one that saves the most nagging. A notification when something new arrives, a morning nudge before deadlines, an approval that currently lives in email, whichever would genuinely change next Tuesday. Building automation for a problem you personally feel is worth ten tutorials, because you will know immediately whether it actually helped.
Your system now has hands and a heartbeat: an app that collects work and flows that move it. What it lacks is sight. In Module 4 we bring in Power BI and turn the data quietly accumulating in your Team Requests table into something you can see: how many requests arrive each week, how long they take, where they pile up. That is when the tool you built stops just handling the work and starts telling you the truth about it. Bring your data. There should be a decent little pile of it by then.
Technology is changing the world. Read about it → The Augmented Life